
How to make glowing animated captions in Premiere Pro
Apply a free glowing caption template in Premiere Pro, then change the words, font, colors, glow, scale, and position so the text fits a Reel, TikTok, or YouTube Short.

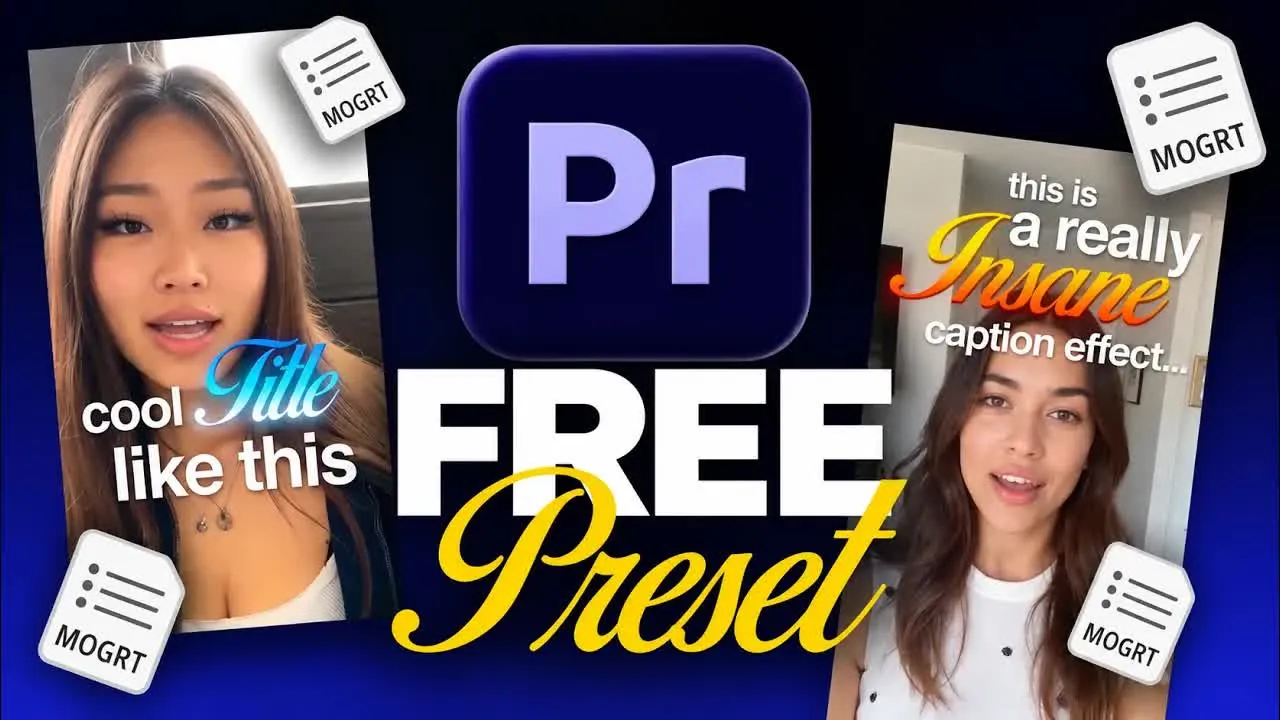
A glowing caption can make a short-form hook easier to notice, but the preset still has to fit the actual shot. The words need room, the glow needs contrast, and the animation cannot sit across the speaker’s eyes.
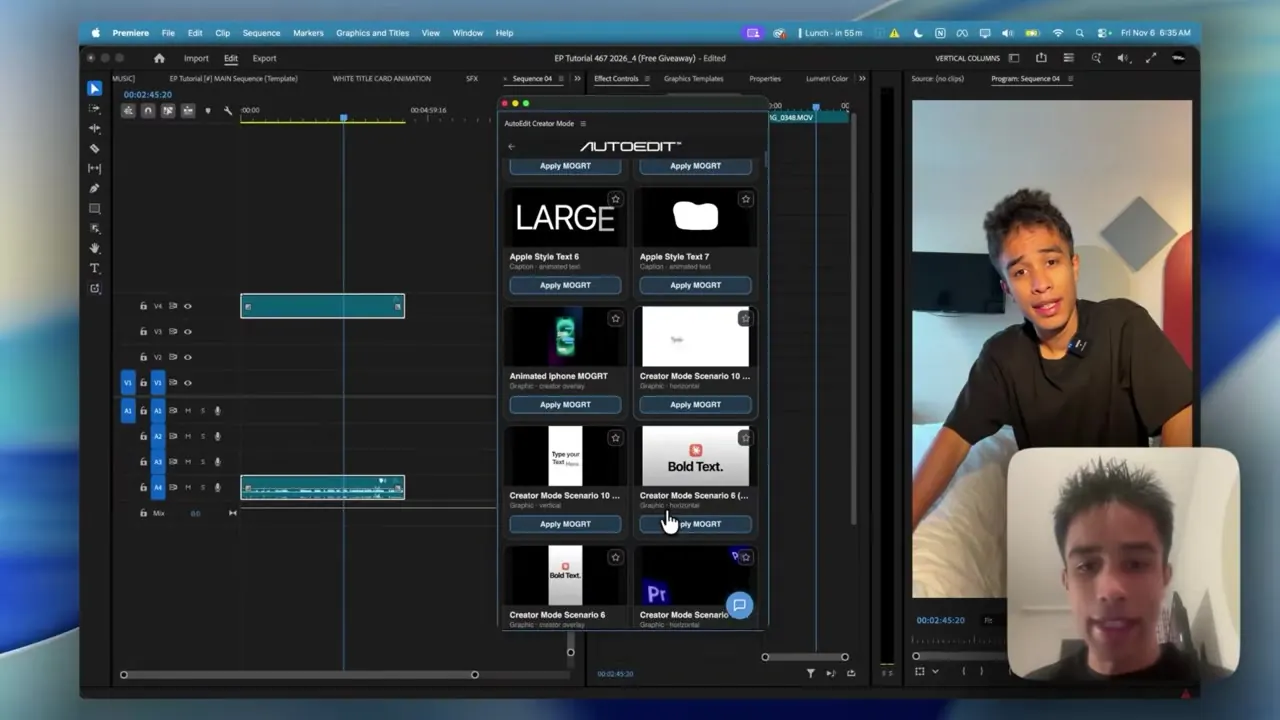
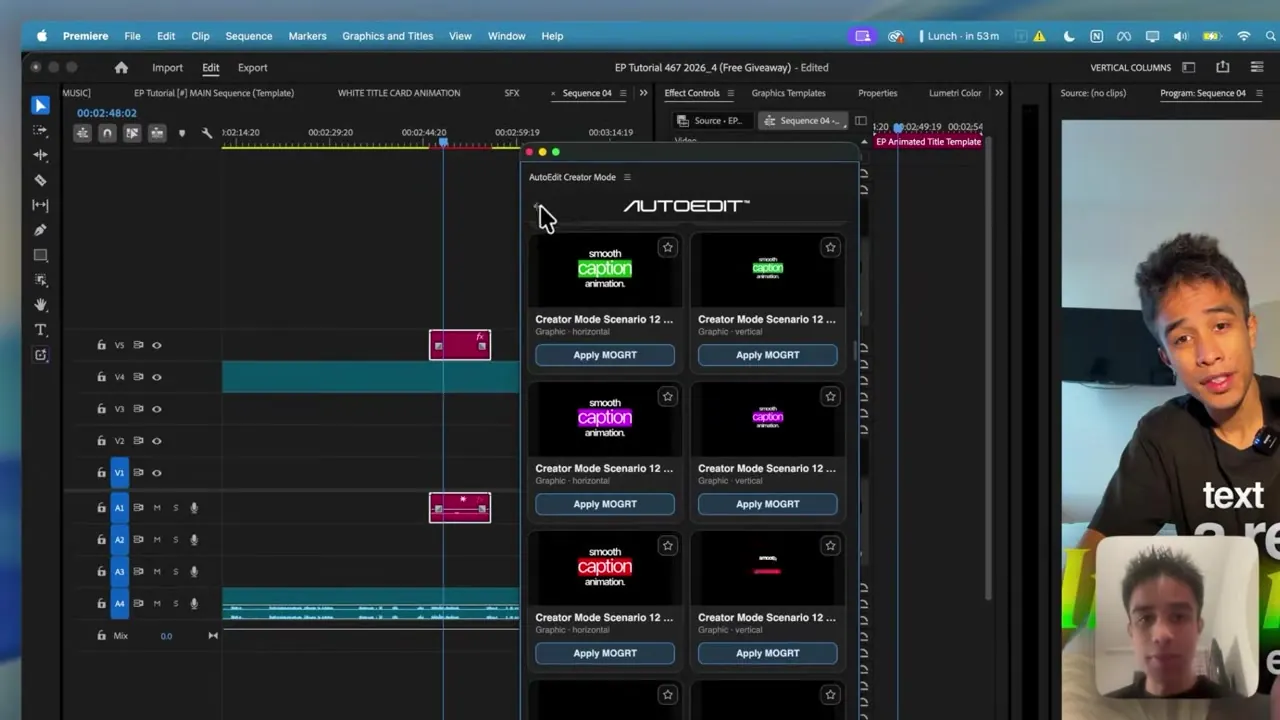
This tutorial uses a free motion-graphics template inside AutoEdit Creator Mode. It shows the exact panel, the applied graphic on the Premiere Pro timeline, and the finished caption result.
Quick Answer
Install AutoEdit Creator Mode, open Free Forever Tools, choose a glowing caption template, and apply it at the Premiere Pro playhead. Then replace the words and adjust the font, color, glow, size, and position so the caption stays readable without covering the subject’s face.
Video walkthrough
How to Make Glowing Animated Captions in Premiere Pro (FREE Preset)
Watch this walkthrough to see the steps in Premiere Pro, then compare the demonstrated settings and results with your own footage before applying them to a full project.
Watch How to Make Glowing Animated Captions in Premiere Pro (FREE Preset) on YouTube
1. Install the free Premiere Pro caption plugin
Download AutoEdit Creator Mode
Use the official download, run the installer, and restart Premiere Pro.
Open the extension
Go to Window > Extensions > AutoEdit Creator Mode.
Open Free Forever Tools
Choose the motion-graphics library and find the caption section.
What is AutoEdit?
See how AutoEdit handles repetitive editing work inside Premiere Pro while keeping the resulting timeline editable.
2. Choose a caption that matches the amount of text
The library includes several animated text styles. Pick a design that can hold the actual phrase. A wide three-line sentence will not fit the same way as a two-word hook.
Put the Premiere Pro playhead where the caption should start, then apply the template. The MOGRT is added to the timeline as an editable graphic rather than a flattened video.
3. Change the text, font, colors, and glow
- Replace the sample words with the real line from the video.
- Use a font that matches the channel instead of keeping the default.
- Choose a fill color that remains clear over the footage.
- Reduce the glow when it makes letter edges hard to read.
- Move the graphic away from the speaker’s face and platform buttons.
4. Check the caption on a phone-sized preview
Zoom the Program Monitor out until the vertical video is close to phone size. If the words become hard to read, increase the type size, shorten the line, or reduce the decorative glow.
Watch the full animation. The first and last letters should remain on screen long enough to read, and the caption should not fight with a fast camera move or another graphic.
5. Use captions after the spoken edit is final
Remove unwanted silences and bad takes before building final captions. If the dialogue changes later, the graphics may need to be retimed or replaced.
AutoEdit’s free Silence Cutter and the separate Claude editing feature are shown briefly in the tutorial, but they are different tools. The caption template itself is part of the free motion-graphics library.
Get the free caption templatesTips
- Test the first pass on a duplicate sequence.
- Watch the complete result before sending it to a client or publishing it.
- Save the settings that worked for the next video in the same series.
Common mistakes
- Treating an automatic first cut like a finished video.
- Adding effects before the basic cut is easy to follow.
- Skipping the audio, caption, and export check at the end.
Try the workflow
Free tools for this article
Use the most relevant free tool for the task, then continue with the rest of your edit.
Continue in Premiere Pro
Explore AutoEdit Creator Mode
Build an editable starting point, then keep creative control of the timeline.
Explore AutoEdit Creator ModeFrequently asked questions
How do you make glowing captions in Premiere Pro?
Apply a glowing MOGRT caption template, replace its text, then adjust the font, fill, glow, scale, and position in the graphic controls. Preview it at the final vertical size before export.
Are the AutoEdit caption presets free?
The tutorial demonstrates the glowing template inside AutoEdit Creator Mode’s Free Forever motion-graphics library. Paid Claude and caption-generation features are separate.
Do the caption templates work for Reels and TikToks?
Yes. The demonstrated template is used on a vertical Reel. Adjust the position and size for the platform safe area and the specific shot.
Can I change the words and colors?
Yes. The template remains editable in Premiere Pro, including its words, font, colors, size, position, and supported effect controls.
Sources and verification
External product claims were checked against these first-party sources.
The glowing caption tutorial shows the free template, Premiere Pro controls, and finished vertical caption used in this guide.
AutoEdit Creator Mode is the tracked download page for the free motion-graphics library demonstrated here.