
How to automatically edit a music video with AI in Premiere Pro
A step-by-step guide to syncing performance takes, detecting BPM, cutting to the beat, placing B-roll, and generating an editable music-video first cut.

How to automatically edit a music video with AI in Premiere Pro
AI-assisted workflows inside Premiere ProA music-video first cut can take hours before the creative edit really begins. The footage has to be stacked, synchronized, divided around the song, and switched between angles before the editor can focus on the strongest performances and visual ideas.
AutoEdit Music Video Mode handles that setup inside Premiere Pro. It builds a reviewable timeline from the song, performance takes, and B-roll, then leaves the editor in charge of the final shot choices, pace, effects, titles, color, and sound.
Quick Answer
Import the song, add full-length performance takes and optional B-roll, synchronize the performances to the track, confirm the BPM and edit settings, then generate a beat-synced first cut and review every angle and effect in Premiere Pro.
Video walkthrough
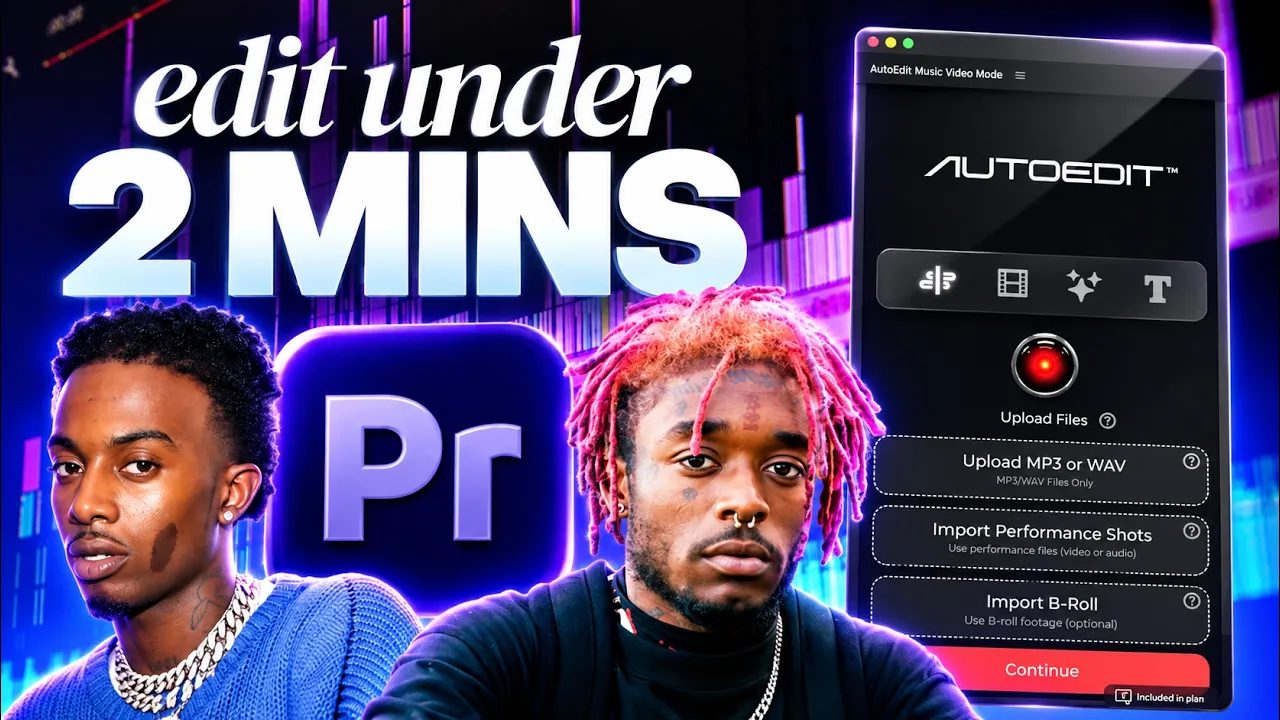
How to Automatically Edit Music Videos with AI in Premiere Pro
Watch the music video editing walkthrough
Prepare the footage before generating a cut
Use full-length performance recordings whenever possible. Partial performance takes can leave gaps because the plugin cannot switch to an angle that does not cover that part of the song. Synchronize the performances to the music and keep B-roll separate so it can be placed as supporting footage rather than treated like another full performance.
Build the beat-synced first cut
1. Select the song
Choose the final music track used for the edit.
2. Add performance takes and B-roll
Use full-song performances for the main angle switches.
3. Detect or enter BPM
Confirm the tempo before choosing cut speed and editing pattern.
4. Generate the sequence
Create the performance cut and B-roll timeline, then review it in Premiere Pro.
Add effects after the structure works
The demonstrated effects tools include camera shakes, film burns, CRT glitches, low-shutter treatments, and cinematic title cards. They can be applied individually or selected as groups for placement across the timeline. Effects are most useful after the performance structure is readable; they should not hide a weak angle or a missed lyric sync.
What the editor still needs to decide
- Which performance sells each lyric
- Where B-roll adds meaning instead of noise
- Whether a cut should land before, on, or after the beat
- Which effects fit the artist and treatment
- How the final color, titles, pacing, and delivery should feel
Tips
- Use a duplicate sequence for the first test.
- Review every generated cut, caption, mask, or effect in context.
- Save the version that worked before trying another pass.
Common mistakes
- Treating the demonstration as a promise that every clip will produce the same result.
- Skipping the full timeline review after an automatic pass.
- Applying a template without changing it for the creator, artist, event, or client.
Try the workflow
Free tools for this article
Use the most relevant free tool for the task, then continue with the rest of your edit.
 Free YouTube Shorts Title GeneratorGenerate short, clear titles for vertical clips without turning every idea into clickbait.
Continue in Premiere Pro
Get AutoEdit Music Video Mode
Music Video Mode is an add-on inside AutoEdit. Download the plugin, then unlock the mode with a one-time purchase in the plugin.
Get AutoEdit Music Video ModeFrequently asked questions
Does AutoEdit finish the entire music video?
No. It creates an editable first cut. The editor still chooses the best performances, replaces weak shots, adjusts B-roll, and completes the visual treatment.
Do performance takes need to cover the full song?
Full-length performances are recommended. Short takes may leave timeline gaps where an angle has no coverage.
Sources and verification
External product claims were checked against these first-party sources.
How to Automatically Edit Music Videos with AI in Premiere Pro is Devin Huynh’s original tutorial and the factual source for this article.
Music Video Mode is the tracked product or free-resource page used in this guide.